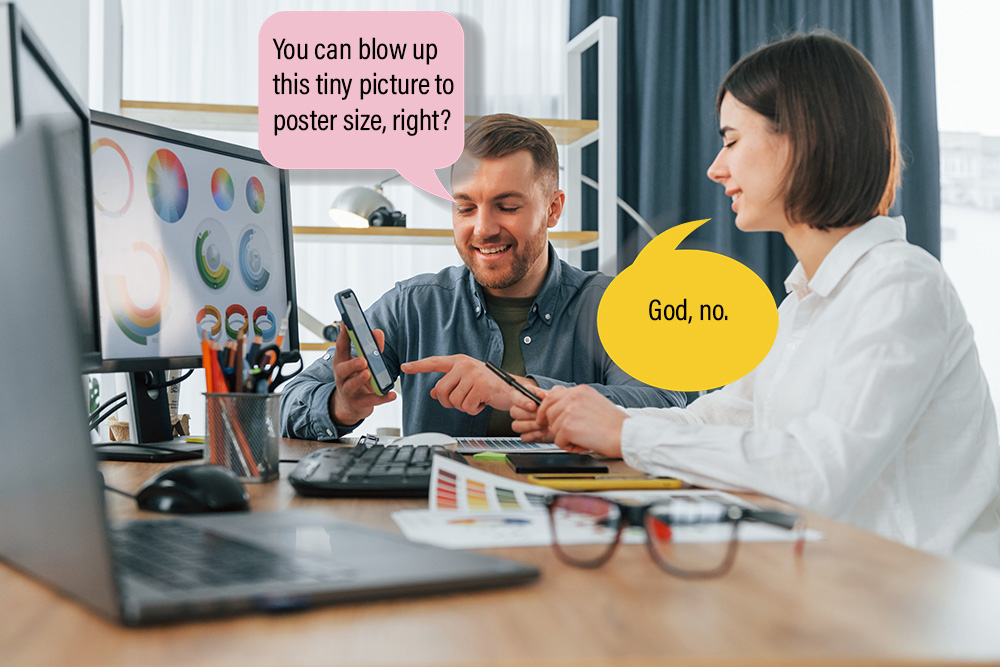

Incorrect Resolution Is #1 In Our Top Ten of DIY Advertising Mistakes. With A Bit Of Knowledge, You Can Get It Right.
This is probably the “Please fix” call we get more often than any other:
“We made a design for (the web, social media, Instagram, a slide presentation). But when we try to make it big enough to print, it looks blurry and ragged. Can you take a few minutes to re-size it so we can send it to the printer and make (handouts, a poster)?”
The answer is usually, “No.” Most of the time, we can rebuild the art or re-create it, but that’s not quick, and it can be expensive. 90% of the time, the reason is that the design, or some parts of it, are the wrong resolution for print.
What that means is complicated. Resolution is an enormous topic—so big that design books devote whole chapters to it, many blog articles and videos have been created on the subject, and Art Director Steve Stanard and I once gave a lengthy presentation on it to some of the comms staff at Warner Brothers. I won’t attempt that level of detail here, but I’ll give you some general rules of thumb that can be helpful.
In fact, I’ll start with what to do. If you want to stop here, you can. If you want to keep reading, you’ll learn why.
WHAT To Do For Better Resolution
- You’ll get the best resolution if you start with art that is 300dpi (dots per inch) at scale, meaning the size you want the finished product to be. And anything you find displayed on a browser, or that you created in an office suite application, ain’t it.
- Even if you’re only creating images for the Web, you’ll still get better results if you start with the highest resolution you can.
- Follow this rule of thumb: You can usually make bigger art smaller, but you can rarely make smaller art bigger.
- Use the largest image size and photo resolution on your camera or phone. On an iPhone, you’ll find the setting in Settings > Camera > Formats. Newer models will offer an option of 12 or 24 megapixels. Choose the highest number. Older models will offer a choice between High Efficiency and Most Compatible. Confusingly, High Efficiency will usually give you better quality. On an Android, you’ll find it in the Camera app > Settings (Gear icon) > Picture Size (or Image Quality) > choose the highest number. If you take a lot of photos and don’t want to choke your storage drive, reset your phone later to avoid running out of room in your device’s storage drive for your ordinary pictures. That photo of your parking spot may be vital to your life for the next three hours, but you don’t need it to be memorialized someday as an enormous framed print hanging over your sofa.
- Don’t make images in an office application like a slide-making app or a word-processing app.
- Logo art should always be vector (stored as math), not raster (stored as pixels).
WHY Resolution Matters and HOW it works.
Screen resolution vs. print resolution. In Rule #1, above, you’ll note that I talked about what you see “displayed on a browser”, meaning you can see it on your screen, where nearly all images have a maximum resolution of just 72 dpi. That’s fine for viewing, great for speed, but lousy for printing, editing, or otherwise manipulating images. That doesn’t mean you can’t download a larger, higher-resolution image, as you can from a stock photo website. Larger images—enormous ones, even—can be stored on a website’s hard drives. But what you see on a browser is compressed so that it will be displayed quickly, otherwise the images load too slowly to be useful.
You can see the difference on the rare website, often a museum site, that offers the option of viewing high-resolution images. The standard low-res image loads very quickly. But when you click on the link for the high-res version, you wait…and wait…and wait…while the high-res image loads a tiny bit at a time.
The opposite is true, too: You can upload images that are 300dpi or even larger to platforms like Instagram. But the application compresses the image for speed, so when you look at it in your feed, it’s still just 72 dpi — whether you look at it, download it, or screen-cap it. On your computer or phone, it won’t look much different, but if you try to edit it, print it, or zoom in on it, you’ll be disappointed.
 This photo was cropped square for Instagram, but is otherwise unedited. it was uploaded to Instagram at 300 dpi.

Art you make in a slide presentation will be somewhere between 96 dpi and 220 dpi for an image size that’s the equivalent of 10” x 7.5”, depending on the application and how you’ve set it. You can opt for a widescreen format, and you would think that would give you a larger image, but nope! You’d be wrong. It’s just narrower. It’s still just 10” wide, but now it’s only 5.63” tall.
See what I mean? Complicated.
Here’s an example of a different resolution challenge–what happens when the resolution stays the same as the original, but the size changes
 Original photo of a street scene in Italy, shot at high resolution and medium-high dimensions.


In other words, you can still lose resolution if your pixel density stays the same, but your dimensions change. As pixels get farther apart, editing tools like Photoshop will try their best to fill in the image gaps, but the bigger you go, the less precise the results will be.
The difference between Vector and raster images, and when to use each.
Every resolution challenge we’ve discussed so far has been about raster images. Raster images are made of square pixels. The more pixels you have, the larger the image will be in a dimension we haven’t discussed yet–file size, or “weight”. Changing the dimensions or resolution of a raster image will cause the image to be “resampled”. The process will make change the weight of the image, and also change the quality in ways that can range from barely noticeable to completely unacceptable.
Raster images are the only types that are capable of handling the many color variations and subtle transitions of a photograph, and are the most commonly used images on the web.
Vector images are stored as math, not pixels, so you can change their size as much as you like without loss of quality. They can’t replicate the subtlety of a photograph, so they’re commonly used for flat illustrations–like logos. In my opinion, logos should always be vector graphics, because you can make them small enough to put on a business card, or large enough to be on a conference banner, and they’ll still look great.
 Vector image at original size.Here's a collection of vector icons of musical instruments. I've put a box around the guitar. At its original size, it's barely an inch tall.


Here are a couple of final raster & vector FAQs that may help clear up common misunderstandings:
Q. Can’t you open up a photograph, or other raster image, in Illustrator and save it as an .AI file?
A. Yes, you can!
Q. Won’t that make it vector?
A. No, it won’t! You’ll just have an AI file with a raster image in it. It’s like finding plastic lemons in a fruit basket. It looks like fruit. It’s the same size as fruit. But it doesn’t smell like fruit, doesn’t taste like fruit, and you can’t make lemonade out of it.
One of the challenges of understanding vector files is what determines a vector file is how it’s made, not how it’s saved that matters. So file types alone can’t tell you whether a file is a true vector image or not. JPGs and PNGs are always raster files. Vector files are always EPS, AI, SVG, CDR, or PDF–but EPS, AI, SVG, CDR, and PDF files can also contain raster images.
Put another way,
All vector files = EPS, AI, SVG, CDR, or PDF.
But not all EPS, AI, SVG, CDR, or PDF files = vector images.
Even graphics that are wholly created in a vector drawing application like Adobe Illustrator (AI) can include elements that are not vector. For example, you can incorporate text into your logo in Illustrator, but the letters themselves aren’t vector illustrations until you convert the letterforms into vector shapes by selecting the text and clicking “Convert to outlines”. Easy-peasy! Done! Except that once the text is converted to outlines, you can no longer fix typos, edit words, or change fonts. You might need professional help to make vector graphics, but at least with this foundation, you’ll know what to ask for, and can make educated decisions.
Still have questions? Go ahead and leave them in the comments, and we’ll answer them.